Hey guys! It's Bella! Yes, the doll Bella... xD.
This post was actually suppoused to be a collab, but I don't really think that person is going to be posting anymore on their YouTube channel, which stinks. :( I was actually planning on posting this like two years ago, but I waited. So... the writing might be a bit different.) Anyways, let's just get going!
1. How to make DIY AG folders!
(The following craft is from my old blog; moondoodle.weebly.com)
Now, lets start with the supplies!
For the supplies you will be needing, paper, (I used blue and green construction paper, but you can also use cardstock, scrapbook paper, or any other paper.) glue or tape, (I used Elmer's brand GEL glue, but any glue or clear tape works fine) scissors, a ruler, (optional) a pencil, and you can use anything for decorating your folder. I am staying rather simple and using the same pattern as the other two folders. All I used was some different colored pens, and my favorite, Papermate Flair Pens! These things will change your life once you use them! Now, let's finally get started:
Step 1: Measure out about 3 1/4 inches width, and 2 1/4 inches of paper. (This is a pretty good size for an american girl, so you might want to change the size according to your doll.) Then, cut out the rectangle.
Then, I folded the paper in half to make a basic folder shape. To add a little decoration to the front, I cut out a little piece of green paper, and wrote "extra" on it and added some little "stitch" marks just for a small edition to the cover! Then, I just glued it on the cover.
To make the pockets in the inside, I cut out 2 small rectangles that were the same width as the folder, and glued them on. (More on this step below)
I had to be SUPER careful with the glue, so I could put in and take out papers from the folders. I glued all along the bottom and a little at the sides, so I could put some stuff in the corners too. Then, I glued the pocket on the folder, and added the same simple "stitch" marks! (TIP: Add any decorations to the label or pocket BEFORE you add glue to it and glue it down. )
Next, make some papers to put in the pockets. You can always switch these out too! IMPORTANT: Remember to wait until the pocket is fully dried on to the folder, so that when you put your papers in, they won't get stuck into your folder! I learned this the hard way... oops. :)
Now, you are completely done with you folder!
How To Make DIY Laptop for your AG dolls!
This next craft is pretty cool if you ask me- How to make a laptop for your dolls!
For this craft you will need: A colored printer,a google docs account, cardboard, and black construction paper

First, go on to your search engine and search, "Macbook front." (Or you can use any other laptop you want.) Look for a picture with just the front of the Macbook, as shown above. Then, save that picture to your computer.

Next, search, "Macbook home screen" and find one with a background of your choice. I chose cool nebula one! (Above!) Then, save it to your computer.

Finally, search, "macbook keyboard" online. Pick a picture. You can find one with a keyboard cover too! Then, save it onto your computer.

Next, open a blank google document. (Using Google Docs/ Drive)
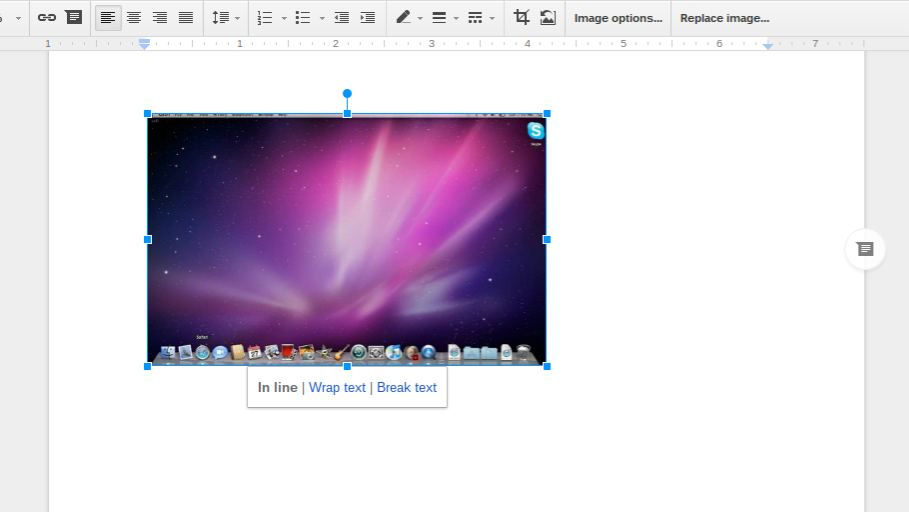
Then, insert the picture of the macbook homescreen onto the document. Make it smaller. I made mine about 4 inches. But I recommend doing it a tiny bit smaller. :)

Then, insert your keyboard picture. Fit it to size, and put it underneath the homescreen. It's okay to have a little bit of extra space in between, but to fix that, just use the "wrap text" option and line the two pieces together!

Next, insert your Macbook cover, and fit it to the size of your other 2 pieces.
Next, print the document out!
After printing the page out, cut out the pieces. MAKE SURE THAT THE KEYBOARD AND HOME SCREEN PAGES ARE CONNECTED! :)
The piece should look like this, and the macbook cover needs to be seperate.
Next, glue the pieces onto a piece of paperboard, and cut it out. (Joey from Full House quote... XD:))
Then, glue the Macbook front, on the other side of where the home screen is. (You should be able to see a home screen on one side, and front on the other.)
Next, color the one side that still has cardboard showing with a black or silver marker. You can also use construction paper.
Fold along the homescreen and keyboard, and you are done!
How to make a doll file folder!
This final DIY is super easy, and is perfect if your not an extreme crafter!
What you need: Colored paper, scissors, permanant marker or pen, and computer paper.
First, cut out a big rectangle out of the colored paper.


Next, fold it in half, "hamburger style"
Then, cut out a tiny strip of the back side of the paper, but skip a tiny part, making a place to label.


Then, take a pen or marker, and write a label for the folder. Ex. School; Extra; Graded; Notes; etc.


Lastly, you need papers to fill it in with! Cut out small pieces of computer paper, or lined paper. Write messages on them or make worksheets and report cards.


Put them inside, and you are done!


~~~~~~~~~~~~~~~~~~~~~~~~~~
Anyways, I hope you enjoyed these Back To School DIYs, and make sure to check out Famous AG Studios video too! She is so nice, and has some really cool ideas! I am so happy that she wanted to work on this with me, and her channel is just so fun! :D
Link to her YouTube channel: Famous AG Studios
Anyways, I hope you enjoyed! Bye!
~Bella Ann Renae!
Comments
Post a Comment